Want to learn how to make a digital planner in Canva? You’re in the right place. A digital planner is a PDF that people use on a tablet in a note-taking app like GoodNotes or Notability. They write on it with a stylus and tap tabs to jump between months, weeks and notes.
The clickable tabs are what make a digital planner feel special, and the good news is that Canva can do them. In this guide we walk you through layout, linking, exporting and testing, plus tips for selling your planner once it’s ready.
Canva updates its menus often, so we describe what to look for rather than every click. If a button has moved, Canva’s help pages will point you to the current spot.
How to make a digital planner in Canva: the quick answer
- Create a custom landscape design sized for tablets.
- Design a page template with a row of tabs along the side or top.
- Duplicate it to build your cover, index, monthly, weekly and notes pages.
- Link each tab to a page in the same design using Canva’s link tool.
- Download as a PDF (not flattened) so the links stay clickable.
- Open the PDF in GoodNotes, Notability or another note app and test every link.
- Create mockups and list it for sale.
Step 1: Plan your planner
Before you design anything, decide who it’s for and what’s inside. A planner for a busy mom of three looks different from one for a college student or a small business owner.
- Dated or undated: dated planners feel more polished, but undated ones can sell any time of year and are far quicker to build.
- Core sections: cover, index, yearly overview, monthly pages, weekly pages and notes.
- Extras: habit tracker, meal planner, budget, goals or a to-do list.
- Navigation: which tabs appear on every page (for example, each month plus “Notes”).
Tip: start with an undated planner of around 20 to 30 pages. Every page you add means more links to create and test, so prove the idea before you build a 300-page dated version.
Do it with AI: open Claude (or ChatGPT) and paste: “I’m designing an undated digital planner for [WHO IT’S FOR] to use in GoodNotes on an iPad. Suggest a page list with sections, the tabs that should appear on every page, and 3 bonus pages that would make it more useful for this audience. Then write short headings and prompts for each page.” Then check and edit the plan so it fits your buyer and your style.
Step 2: Set up a landscape tablet layout
Most digital planners are landscape, because they’re used on a tablet held sideways. In Canva, create a new design with a custom size. Many sellers use a pixel size that matches a common tablet screen shape (for example, 2224 x 1668 px, which fits many iPads). Any landscape size close to that ratio works well.
- Leave room for tabs: reserve a strip along the right side (or top) for your navigation tabs.
- Think about the app toolbar: note apps add their own toolbars, so keep important content away from the very top edge.
- Make tabs finger-friendly: tabs should be big enough to tap easily with a finger or stylus.
- Keep writing space generous: people write larger on a screen than on paper.
Step 3: Design one master page
Design a single page that includes your background, tab strip and basic layout. Get this page right first, because you’ll duplicate it for almost everything else.
- Tabs: rectangles or rounded shapes with short labels (JAN, FEB, NOTES and so on).
- Colors: soft colors are easier to write over than busy patterns.
- Fonts: one clear heading font and one simple body font.
- Consistency: tabs should sit in exactly the same spot on every page so the planner feels smooth to use.
Step 4: Build your pages
Duplicate your master page and turn each copy into a section: cover, index, monthly pages, weekly pages and notes. Use Canva’s page view or grid view to keep things in order. Name or number your pages so linking is easier later.
For monthly calendars and weekly layouts, tables and grids save a lot of time. Build one weekly page, duplicate it, and change only what’s needed.
Step 5: Add tabs and hyperlinks between pages
This is where your planner becomes digital. Canva lets you link an element to another page in the same design. The general process looks like this:
- Select the tab: click the shape or text you want to make clickable.
- Find the link option: look for a link icon or the “Link” option, often under the “More” menu on the toolbar.
- Choose a page: instead of typing a web address, pick the page you want from the list of pages in your document.
- Repeat: link every tab on every page, plus any index or calendar links.
Linking takes patience. One trick: link all the tabs on your master page first, then duplicate it, so the copies keep their tab links. Check this in your version of Canva, since behavior can change.
Tip: group a tab shape and its label together before you link it, or put the link on the shape itself, so the whole tab is clickable, not just the tiny word on top.
Want an extra-polished planner? Link each day in your monthly calendar to the matching weekly page, and add a “home” button on every page that jumps back to the index.
Step 6: Export as a PDF and keep the links
Canva says hyperlinks stay clickable when you download your design as a PDF, but not in image formats like PNG or JPG, and not in flattened PDFs. So:
- Download as PDF: use one of Canva’s PDF options.
- Don’t flatten: leave any “flatten PDF” option unticked.
- Watch file size: big planners with lots of images can get heavy. Simpler backgrounds keep files smaller and faster to open.
Step 7: Test your planner in note apps
Never sell a digital planner you haven’t tested. Import the PDF into the apps your buyers are likely to use, such as GoodNotes and Notability, and check:
- Every tab: tap each one on several pages and make sure it lands on the right page.
- How links are tapped: in GoodNotes, for example, links in imported PDFs work in read-only mode, or with a long press while using the pen. Note this in your instructions so buyers aren’t confused.
- Writing space: try actually writing on the pages with a stylus.
- Platform differences: link support can vary by app, device and version. Check each app’s help pages and tell buyers which apps you’ve tested.
Licensing: what to know before you sell
Canva allows you to sell original designs made with its tools, but you must add real creative work, and you can’t resell its elements or templates as-is. Canva also has stricter rules for editable templates that include Pro content. Read Canva’s current licensing pages before you sell, especially if your planner uses Pro elements, and keep it original.
The same goes for fonts and graphics from anywhere else: make sure each license allows use in products you sell. And skip characters, logos and brand names entirely.
Tips for selling your digital planner
- Show it in action: mockups of the planner on a tablet, plus a short video of tabs being tapped, help buyers see what they’re getting.
- Be clear it’s digital: say it’s a PDF for tablet note apps, not a physical planner, and list which apps you tested.
- Include instructions: a simple “how to import and use your planner” page cuts down on questions.
- Disclose AI use where required: Etsy asks sellers to disclose in the listing description when an item is created with AI.
- Offer a printable version too: some buyers like paper. A US Letter and A4 version can be a nice add-on.
- Price with care: our guide on how to price printables walks through value, research and fees.
If you sell on Etsy, our Etsy shop setup guide covers listings and getting found. For paper planners, see how to make and sell planners.
Do it with AI: write your instructions page yourself as you import and test your planner in GoodNotes and Notability. Then paste it into Claude (or ChatGPT): “Here is the instructions page for my digital planner [PLANNER NAME]: [PASTE YOUR DRAFT]. Make it friendlier and easier to follow, under 250 words, without adding any steps.” On Etsy, instructions buyers rely on must be your own work, not AI-written.
Design and sell digital planners with AI
Our Printables & Digital Products Business-in-a-Box shows you how to make printables and planners in Canva with AI and sell them on Etsy, Bonidi or Shopify. You get 20 templates, 4 AI assistants and 3 ready-made printables to rebrand and sell.
Digital planner in Canva FAQ
Can you make a hyperlinked planner in Canva for free?
Linking pages and downloading PDFs are core Canva features, but what’s included in each plan can change, and some elements and tools need a paid plan. Check Canva’s current plans before you start.
Why aren’t my Canva links working in my PDF?
Common reasons: you downloaded as an image instead of a PDF, the PDF was flattened, the link is on a small text box instead of the whole tab, or the note app needs a different mode to follow links. Re-download as a regular PDF and test again.
What size should a digital planner be in Canva?
Most sellers use a landscape size that matches common tablet screens, such as 2224 x 1668 px. Any similar landscape ratio works, as long as tabs are easy to tap.
Do digital planners work in GoodNotes and Notability?
Both are popular apps for PDF planners, and hyperlinked planners are widely sold for them. How links work can vary by app, device and version, so test in each app and tell buyers which ones you’ve checked.
Can I sell a digital planner I made in Canva?
Yes, if it’s your original design and you follow Canva’s licensing rules plus the license for any other fonts or graphics you use. Read Canva’s current terms, especially if you use Pro content.
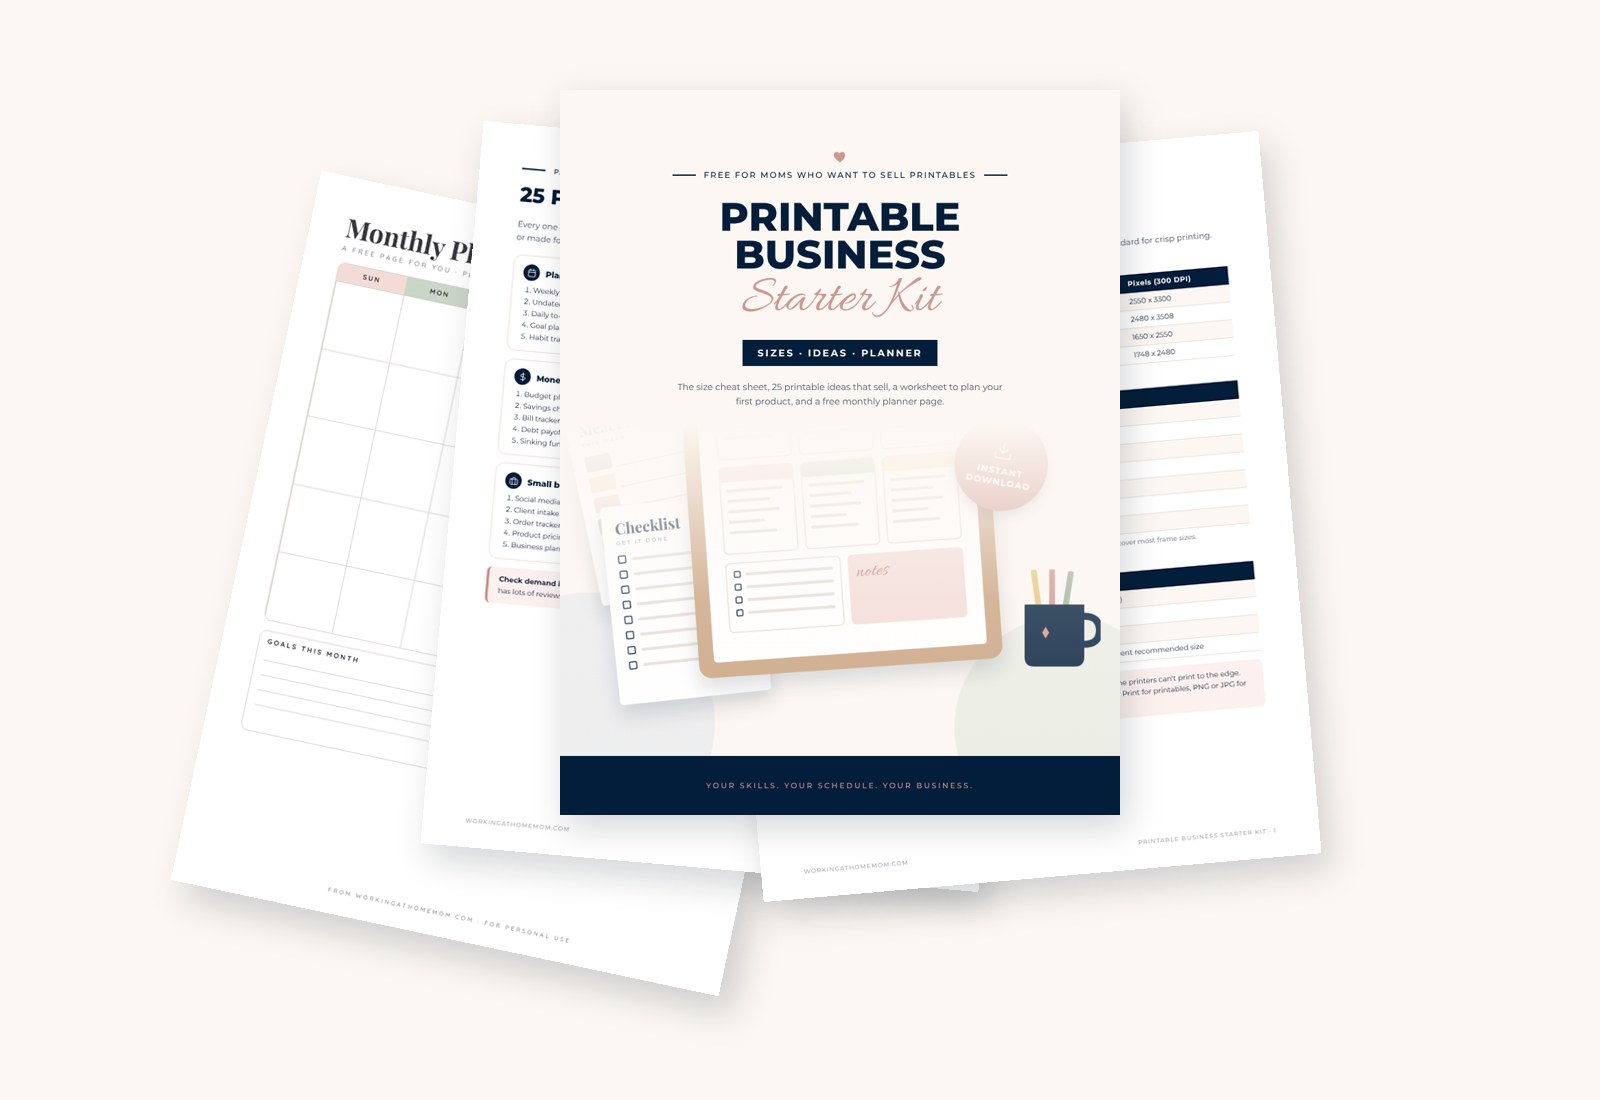
Get our free Printable Business Starter Kit
The printable size cheat sheet, 25 printable ideas that sell, a worksheet to plan your first product and a free monthly planner page. Sent straight to your inbox.